
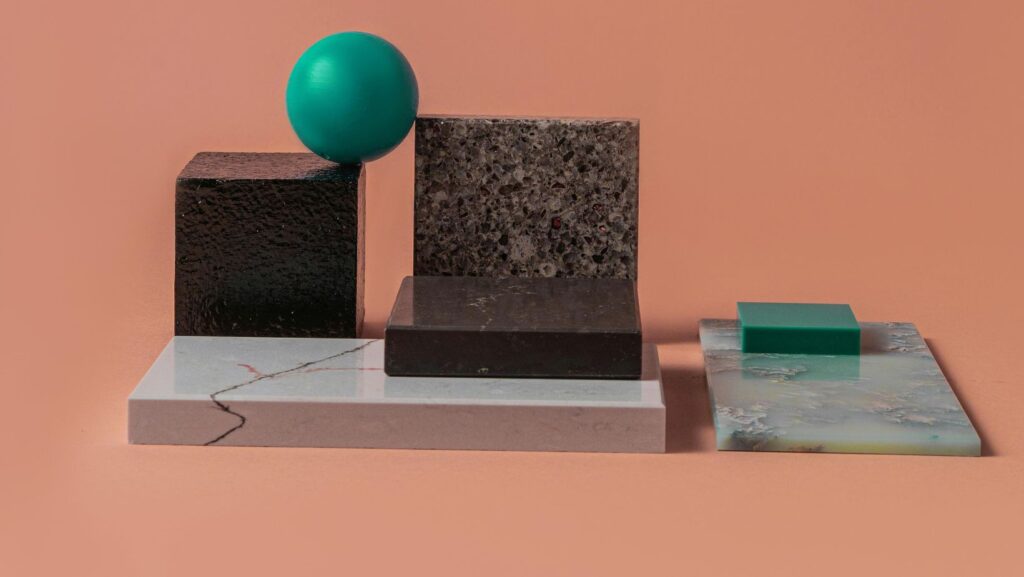
If you have ever looked at a render and thought it felt a little plastic, the issue was probably not the model; it was the material. Wood that does not catch light correctly, metal that lacks fine scratches, fabric that ignores weave and fuzz, these small misses flatten the whole scene.
The goal is simple: make surfaces behave the way the eye expects, and do it fast enough that you can iterate without stalling a project.
AI now helps you get there without building every map by hand. Instead of hunting through stock libraries for hours, you can sketch the look in words, generate options in minutes, and keep only what works. Below is a practical workflow that keeps the art in your hands while letting AI handle the heavy lifting.
Define the Material Before You Touch a Tool
Write down what the surface has been through. New oak plank or oak with water rings, shoe scuffs, and a satin finish. Polished brass or brushed brass with fingerprints near the handle.
Specifics guide every choice that follows, from roughness to color variance. A short note sets beats a vague “realistic wood” every time.
Open a reference board. Grab close photos for color and structure, then wider shots for context. Decide where the material will live in your scene and under what light. When you can say how the surface looks at arm’s length and from across the room, you are ready to generate with focus instead of guesswork.
Clean the Model and UVs So Textures Sit Correctly
Good textures fail on bad UVs. Check for stretched shells, flipped islands, and gaps near seams. Pack islands with consistent texel density so the grain on a table leg matches the grain on the top. If scale matters, set real units and measure once. Five quiet minutes here saves an hour of seam painting later.
Give yourself an honest test of lighting. A key, a fill, and a rim are enough to expose problems. If the surface needs a hero close-up, park a camera there now. You want to judge every map in the conditions where it must succeed.
Generate Base Maps Quickly With an AI Texture Generator
Once the stage is set, move fast. An AI texture generator can produce clean albedo, normal, and roughness, starting from a simple description like “cast concrete, fine aggregate, light trowel marks, slightly damp.”
Spin two or three variations, drop them on your model, and keep the one that reads best under your lights.
Iterate with intent if the wood feels too perfect, prompt for subtle sap streaks or mill chatter. If the stone looks flat, ask for micro pitting and soft edge wear. AI is ideal for this middle ground, not final polish. Treat it like a junior assistant who delivers options while you decide what stays.
Align Maps and Lighting for Believable Response
Materials are believable when their maps agree. If a bump says a ridge exists, roughness should catch light there, and albedo should hint at it too.
Mismatched maps create the “painted on” look. Nudge roughness first, it drives most of the read. Then refine normal intensity so edges neither halo nor disappear.
Test under hard and soft light. A sun style key reveals tiling and directional artifacts, a big soft source reveals blotches and low frequency value shifts.

If issues pop, fix them at the source. Break tiling with a second detail normal, add a variation mask, or rotate UV islands on repeating parts so patterns do not sync.
Package Materials So Scenes Stay Fast
Beautiful is not enough if the scene stutters. Right-size your textures for the shot. Many props look identical at 2K compared to 4K once viewed at a normal distance. Use compressed formats where the engine supports them, group maps into atlases for sets of small assets, and bake lighting when the camera and light are locked.
Profile early. Check draw calls, texture memory, and shader complexity with a throwaway scene that mimics your target.
If you plan to ship to web, mobile, or a kiosk, treat performance as a feature from day one. Marketing teams live by this rule too, as pieces on essential AI tools remind us, ship speed and reliability often decide whether an experience actually gets used.
Connect Look Development to Outcomes
Textures are not only craft, they are leverage. Better materials reduce retakes, keep viewers engaged longer, and raise the perceived value of the product in frame.
If your work supports sales or demo content, pair your visual gains with simple funnel thinking. When using AI to increase performance and revenue, quality plus clarity tends to move numbers.
Build a repeatable loop. Save your winning prompts, note the roughness ranges that read well under your studio rig, and keep a small library of proven dirt, edge wear, and detail normals. The next time you get a brief, you start from tested parts, not a blank page, and you reach the look faster with less risk.
More Stories
E-Commerce Trends in Europe: Opportunities and Transformations
Wi-Fi Speed Problems: 10 Fixes That Really Can Make Home Internet Faster
The Role and Impact of SEO Consultants in Digital Marketing