

When you take your glasses off, where do you put them? Somewhere nearby, hopefully. But even if they’re within arm’s reach, how much of a pain is it to try and fumble around for them every time you want to look at something?
That’s where the glasses chain comes in. It keeps your eyewear right where you want it, and you’ll never fumble around for them again. Whether you’re driving, working at your computer or doing anything else where you need to see something up close, having a glasses chain will keep your glasses secure and right where they should be.
How to Make Glasses Chain?
For this example, you’ll be using a thicker craft wire. Thicker wire is not only easier to work with, but it also looks better in the end when you’re finished wrapping the chain.
STEP 1: Cut a length of your craft wire. I suggest starting off with around 16 inches long and going from there if you need longer.
STEP 2: At one end of the wire, create a large loop that will act as both your key ring and lobster claw. You can do this by holding the wire with your thumb right next to where the loop is going to be formed. Wrap it around your fingers once or twice, then slide it off. Twist the two ends together until it forms a complete circle.
STEP 3: Decide what length of chain you want and add links to the other end. It’s important to note that when making your chain, you’ll be wrapping in the opposite direction than you did for the keychain. This is so the two ends will meet up properly at the clasp and keep your glasses from falling off. For this example I wanted the chain to be about 10 inches long, so I added 9 links and wrapped it up backwards one time for good measure before trimming off any excess wire.
STEP 4: Now that you have a loop at each end of your craft wire, bend the straight part into a U-shape that mirrors the shape of your glasses.
STEP 5: Open up your chain links and slip them over the top of the wire frame. Make sure to leave a little slack so that you have room to attach the clasp, but not too much or else it’ll sag once attached. You can measure this by trying the glasses on and seeing how much wiggle room you have.
STEP 6: Once everything is in place, take your clasp piece and attach it to both chains by twisting the wire ends together the same way you did for the keychain. The two loops will meet up perfectly so that when you go to put on your glasses, they’ll be right where you left them.
Materials
You’ll Need:
Wire (thinner wire is easier to work with but harder to see, whereas thicker wire is more durable)
Clasp (For this example I’m using a lobster claw clasp, but there are many options available. Check out Step 2 for reference of what kind of clasp you can use.)
Tools you’ll need: Wire cutters and needle nose pliers (optional).
Design Ideas
This is a great way to decorate your glasses and make them more unique without spending too much time or money. You can find chains made from leather, cloth and other materials that will give an entirely different look than metallic chain might. Some even come with charms attached to the end for even more flair.
The sky’s the limit when it comes to making a unique pair of glasses. With a little bit of wire and imagination, you’ll have the coolest looking glasses in town in no time.
Conclusion
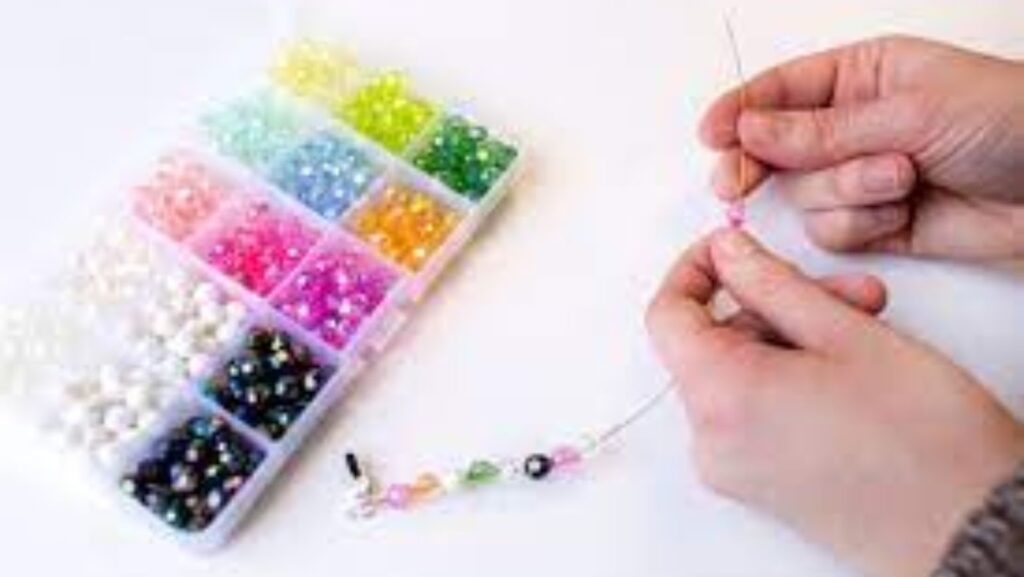
Whether you want to make a glasses chain for yourself or as a gift, now you know how to make one. Use thicker wire for more durability and easier handling. Get creative by adding decorations like beads and charms.
The most important thing is that your glasses are always within reach, so you never have to fumble around with them again. Stop worrying about misplacing your glasses, and never have to untangle them from a coat again.
Get a chain made for yourself or as a gift for someone you care about, and they’ll be thanking you later!
More Stories
Optimize Your Streaming Microphone Setup for Professional Quality Audio
Encryption And Decryption Methods For Secure Communication
How to Promote an Instagram Page that is Bound to a Certain Location: a Tool that Works in 2023